DIY Flower Planters
- 19
- Feb
I come from a Dutch background so it’s not surprising to request the odd DIY project from my husband. This time around I asked for him to make me some planter boxes to brighten up our balcony.
From childhood onwards, I can remember my mum looking after her planter boxes with great enthusiasm and through spring, summer and even autumn we always had a beautiful array of flowers in the back yard.
For us it brightened up dull corners of the yard and made for a lovely spot to sit when the family came together on a Sunday morning.
I’ve created a step-by-step photo guide below so you have an idea how to put planters like these together. They are now perched proudly on the balcony where I can retreat to enjoy the view and the smell of those beautiful flowers.
Photo 1: Start with different sized planks of wood
Photo 2: Start gluing and screwing the planks of wood together
Photo 3: Fill up the holes with liquid wood filler
Photo 4: Start preparing the stands for the planting boxes
Photo 5: Planter boxes ready but still need to be stained
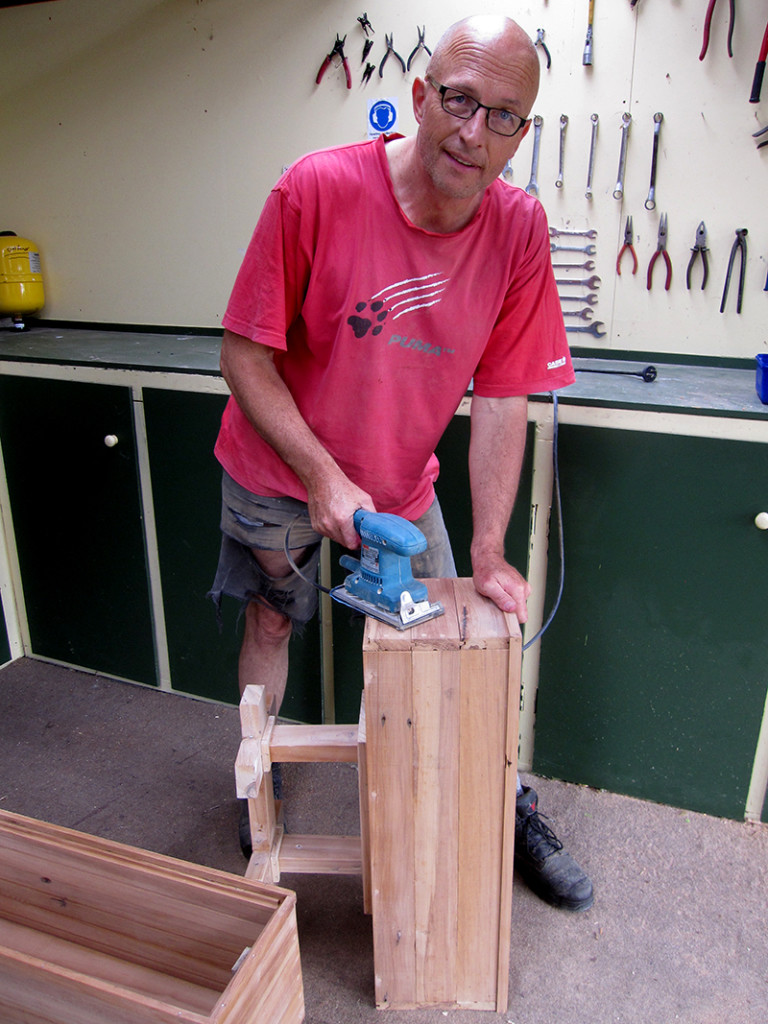
Photo 6: First some sanding before we apply the stain
Photo 7: Using Cabot deck stain for the planter boxes
Photo 8: Drill the holes in the bottom so the water can escape
Photo 9: Line it with plastic to ensure that the planter boxes won’t rot too fast
Photo 10: Fill them up with ⅓ of stones for easy drainage
Photo 11: Cover the stones with netting
Photo 12: Add potting mix and plants
Photo 13: Now sit back and enjoy your homemade planters!


